A Storm Is Coming—Prepare Your Bike For Winter Commuting
5 Tips to Winterize Your Bike

Depending on where you live, "winterizing" your commuter bike will differ. Here in the DC Metro area (The DMV—District, Maryland, Virgina) we tend to get a bit of everything. We'll have abnormally warm days followed by intense periods of raw vortex action from the North. We can go from full on SNOWPOCALYPSE to, "Dude, Where's My Snow?!" The road crews here love salt. I mean they *really* love salt. That being said, there's a lot of melting that transpires and that means wetness, all the time. Winterizing your bike is a process of making your trip to work, the store, or the coffee shop one that is safe, clean, and predictable. These tips not only will protect your bike from the elements, but will give you an advantage when those elements are treacherous.
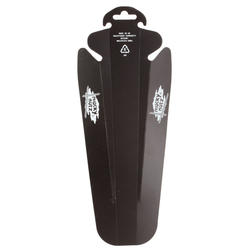
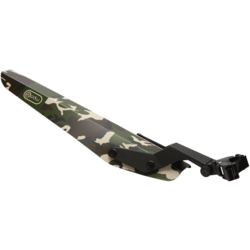
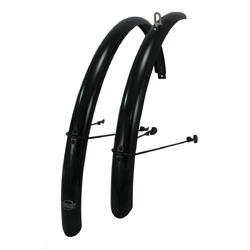
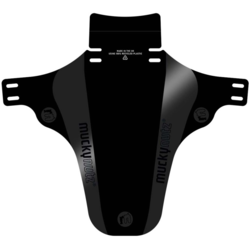
1) Protect You and Your Bike With Fenders
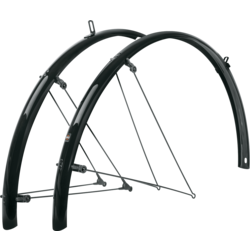
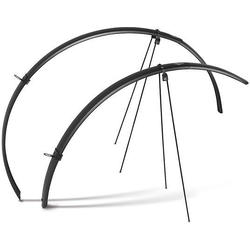
Fenders got a bad rap years ago because many shops in the States were feeding off the Lance-effect. If it isn't race ready, don't ride it. Fenders added weight. Fenders made sounds. Fenders weren't "pro". Actually, if you ride your bike every day, then you know fenders are indeed pro, while simultaneously being clothing and drivetrain saviours. One of our favorites is the Planet Bike Cascadia Fenders (pictured right). We install these on majority of the custom commuter bikes we put together because they provide full coverage, they're lightweight, and the mudflaps are extra long to prevent anyone behind you from getting sprayed.
2) Tires To Handle Commuting on Snow & Ice
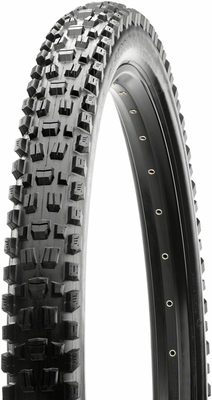
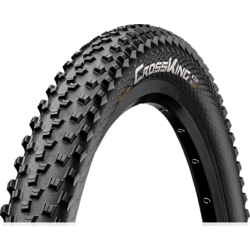
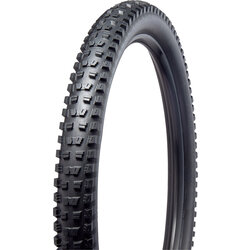
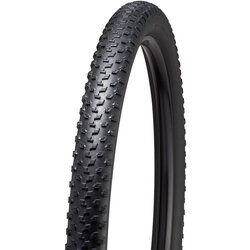
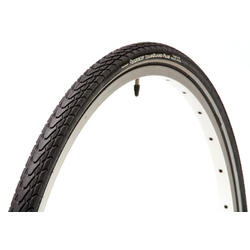
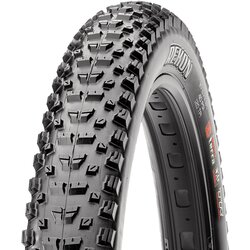
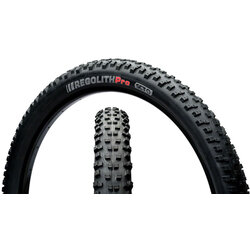
There are multiple schools of thought on what kind of tires you should use as well as what pressure you should run them at. Some like wider, knobby, mountain bike tires that provide traction in a wide range of conditions. Caveat: they are slower because traction = friction. Others like narrower road tires that allow the tire to cut through the snow and slush to reach the road beneath. Caveat: in some conditions they have no traction. Of course, this depends on what type of bicycle you currently own.
Our experience has been the wider the better (as much as your frame/fork can handle w/ clearance) and the lower the pressure the better. Low pressure allows the tire to flatten out at the point of contact giving you a greater contact patch. How low? That depends on many different variables. Too low and you can pinch flat or roll the tire off the rim completely. Experiment beforehand using a similar weight (e.g. with bags and winter gear) as you would when commuting to get a feel for what works best for you.
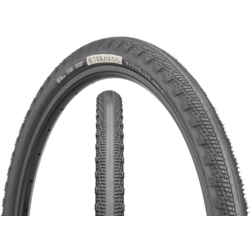
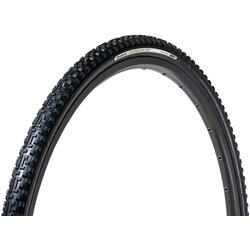
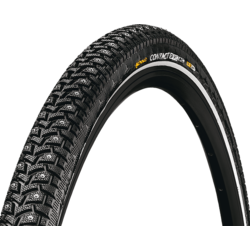
If you know you'll be riding in icy conditions repeatedly over the course of the winter, studded tires, like the 45NRTH Gravdal (700x38), are the way to go. The metal spikes protruding from the tire casing and tread dig into ice where normal tires would slide out. Caveat: they're extremely heavy and they have all the friction! Think of it as resistance training.
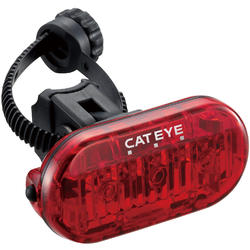
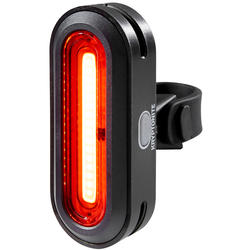
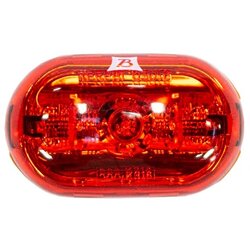
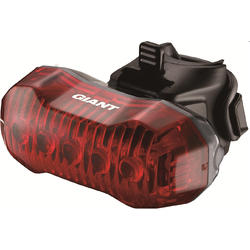
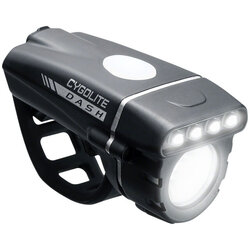
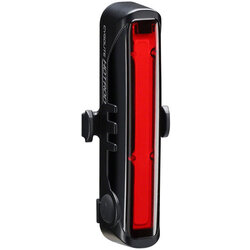
3) Lights. You Need Lights—Seriously
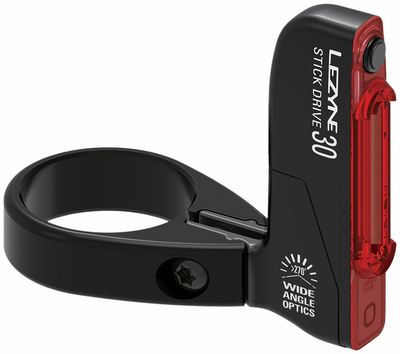
Lights are a given when the word "commute" is used. And, in many cases, it's the law. Here in DC, MD, and VA, the law states you need a front white light (steady/flashing) and a rear red reflector. The addendum to that law includes a steady/flashing rear red light instead of or in addition to the red rear reflector. Check your local laws to confirm.

The obvious reason lights are necessary during the fall/winter seasons is because it gets darker much earlier than in spring/summer. However, winter tends to also be overcast and weather events can happen without warning. The pervasive grey color makes it hard for automobiles to see cyclists. Front and rear lights cut through the haze.
USB rechargeable lights have come down significantly in price in the past couple years. USB allows you to eliminate the need for batteries thereby reducing waste. Only caveat is the need to remember to charge them.
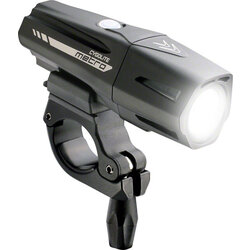
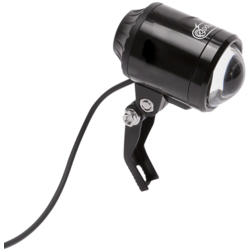
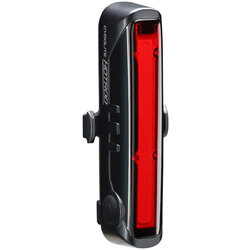
Front lights run in two categories: "to be seen with" and "to see with". Those in the "to be seen" category are generally lower lumens are great for strictly urban settings where there are plenty of street lights. The "to see with" category has much higher lumens allowing the rider to travel on trails, paths, and roads leading away from the city or in more suburban/rural environments where streetlights are at a premium. One of our favorite light systems is the Light & Motion Urban 650 Commuter Combo (pictured right). 650 lumens is more than adequate for unlit areas and you can run it at lower power in areas that are more lit to extend the life of the rechargeable battery. The rear light offers an expansive beam pattern delivering a full 180 degrees of visibility.
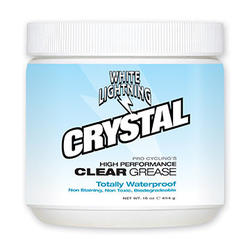
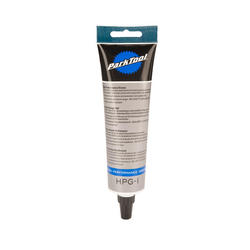
4) Clean Your Drivetrain, And Clean It Often
Cleaning your drivetrain before foul weather is a great idea. Actually, cleaning your drivetrain, full stop, is a great idea, regardless of the time of year. But cleaning beforehand makes it much easier to maintain your cassette, chain, chainrings, and derailleur pulleys when the weather finally hits. Like we mentioned above, salt is used on everything. And while it's your friend for traction, it's the enemy to your shifting and moving forward parts.
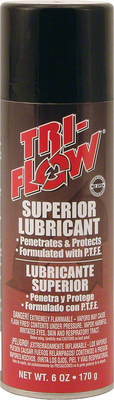
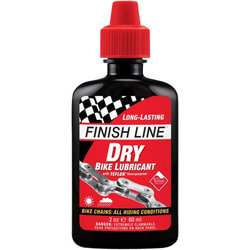
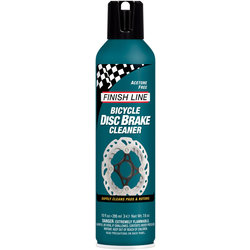
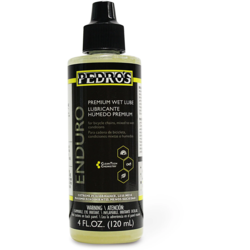
Degreasers like our favorite, White Lightning Clean Streak, get down to the bare metal to prepare it for lubrication. For wet, winter months, we recommend a wet lube with some tenacity. Wet lubes won't break down as fast but they do tend to attract lots of road grime and grit, which means maintenance. Simply wiping down the chain after a commute will save you money in the long run. It removes the salt and whatever you picked up along the way so it doesn't act as sandpaper to you cassette and chainrings.


5) Get Home Kit—Make A New One, Or Refresh Your Existing One

There's more than a few different ways to go with the fifth and final tip, but we decided on what might be the most mundane yet most essential. The get home kit are the essentials to make sure you complete your trip. You can find yourself in some pretty extreme weather situations and you need to be prepared.
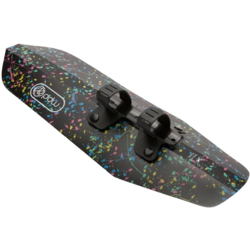
The get home kit starts with a seat bag. For the winter kit you might want to look for one that's capable of carrying more than a few items. The Specialized Wedgie Seat Bag (pictured right) is more than capable of carrying more than a few items. Next, you'll need a spare tube in case of the dreaded flat. You should already have one of these, but if you don't, check the sidewall of your tires for the correct size. If you already have one, check it to make sure it's in usable condition. We stock Specialized Tubes in the shops. You'll need to get that tire off the rim and we love Pedro's Tire Levers for that task. Just in case you puncture that new tube, the Department of Redundancy Department suggests a patch kit. The Park GP-2 Glueless Patches are easy to apply when it's cold. Now it's time to pump up that tire. For the fastest inflation possible, nothing beats CO2 cartridges. The Crank Brothers Sterling CO2 Inflator comes with the inflator as well as 2 cartridges. However, if you're one of those that prepares for the worst, a hand pump pretty much guarantees an inflated tire. Things can go wrong quickly with the cartridges and a pump like the Topeak Pocket Rocket can be a great backup or primary inflation device. For roadside maintenance beyond flat tires you'll need a multitool. The Crank Brothers Multi-10 will take care of most of your needs.
Lastly, we'll suggest carrying some air-activated hand warmers for emergency repairs on the coldest of commutes. The Grabber Mini-Hand Warmers are small enough to be kept in the seatbag until needed. Sometimes it's difficult to use tools with gloves, yet once the gloves come off, exposed fingers can become dangerously cold very quickly.